New test order
This section describes how to generate a new laboratory test order.
Note: You can generate a laboratory test from (1) the orders list page (which is the one explaining in this section), (2) the patient record or (3) from the quick access page.
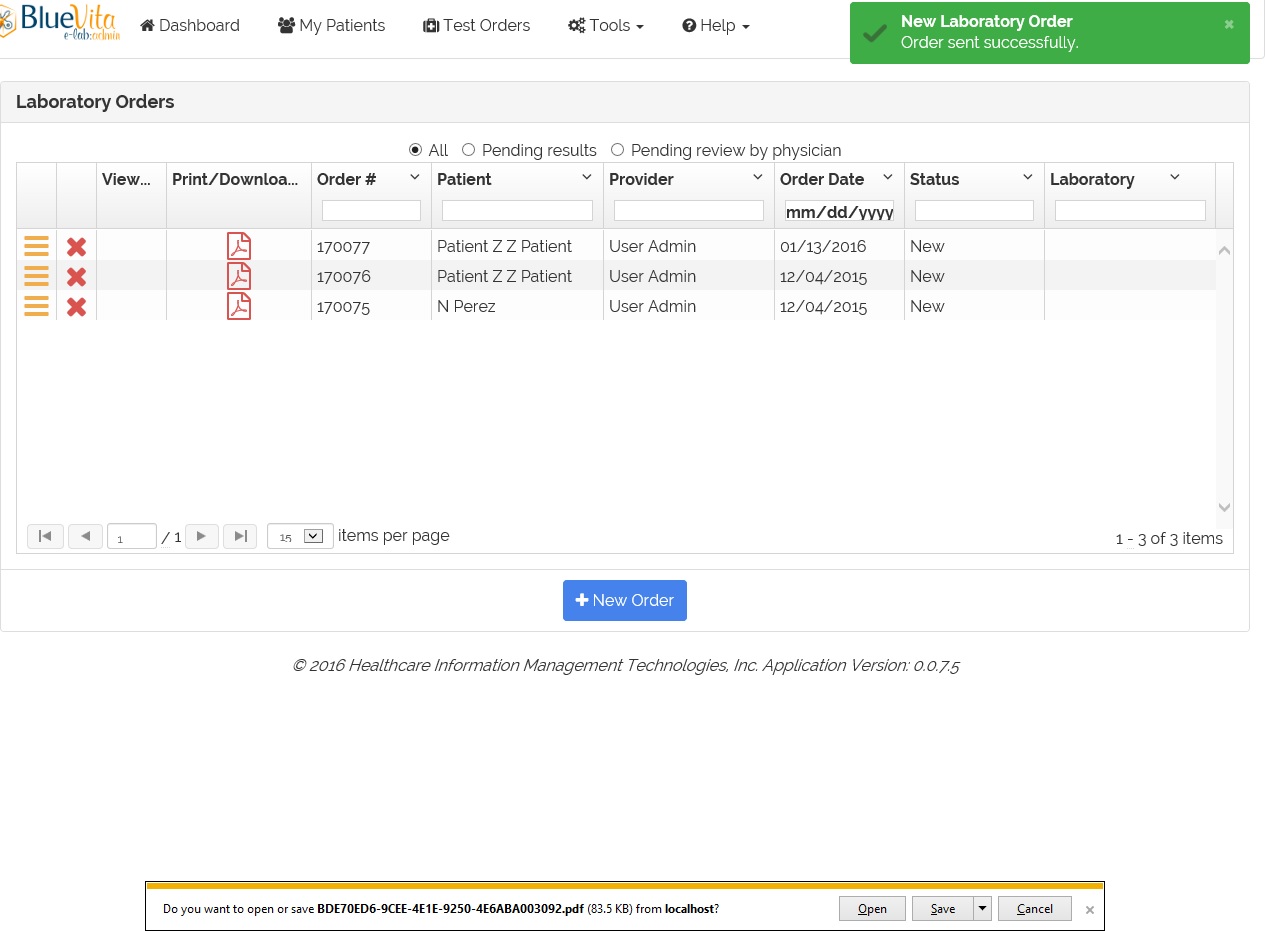
1- In the practice orders list page click on the  button.
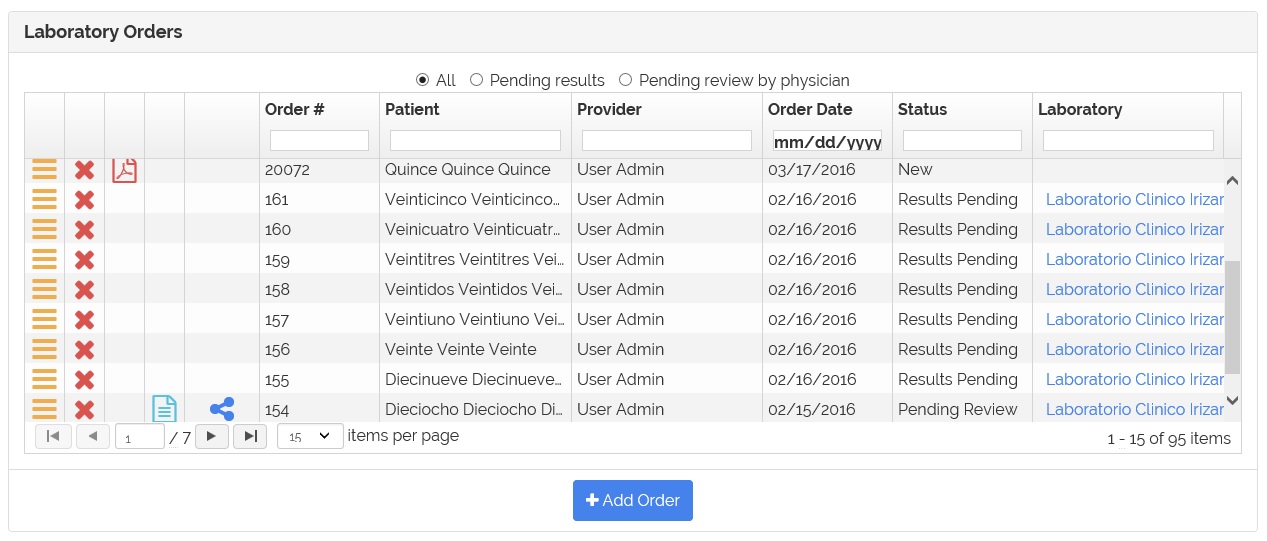
2- The 'Patient Search' page appears.

Search the patient
3- Enter the patient's EHR record number to search for the patient or click on the 'Advanced search' to add additional filters for the search.
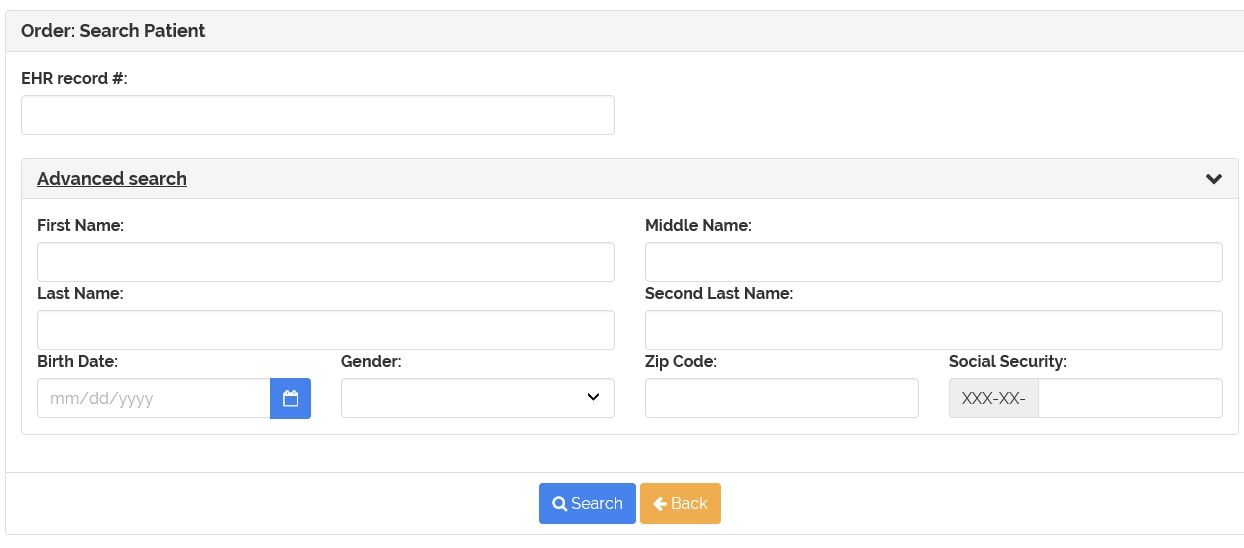
4- Click the 'Search' button to find the patient.
5- If the patient or patients were found based on the search filters, they will shown on screen.
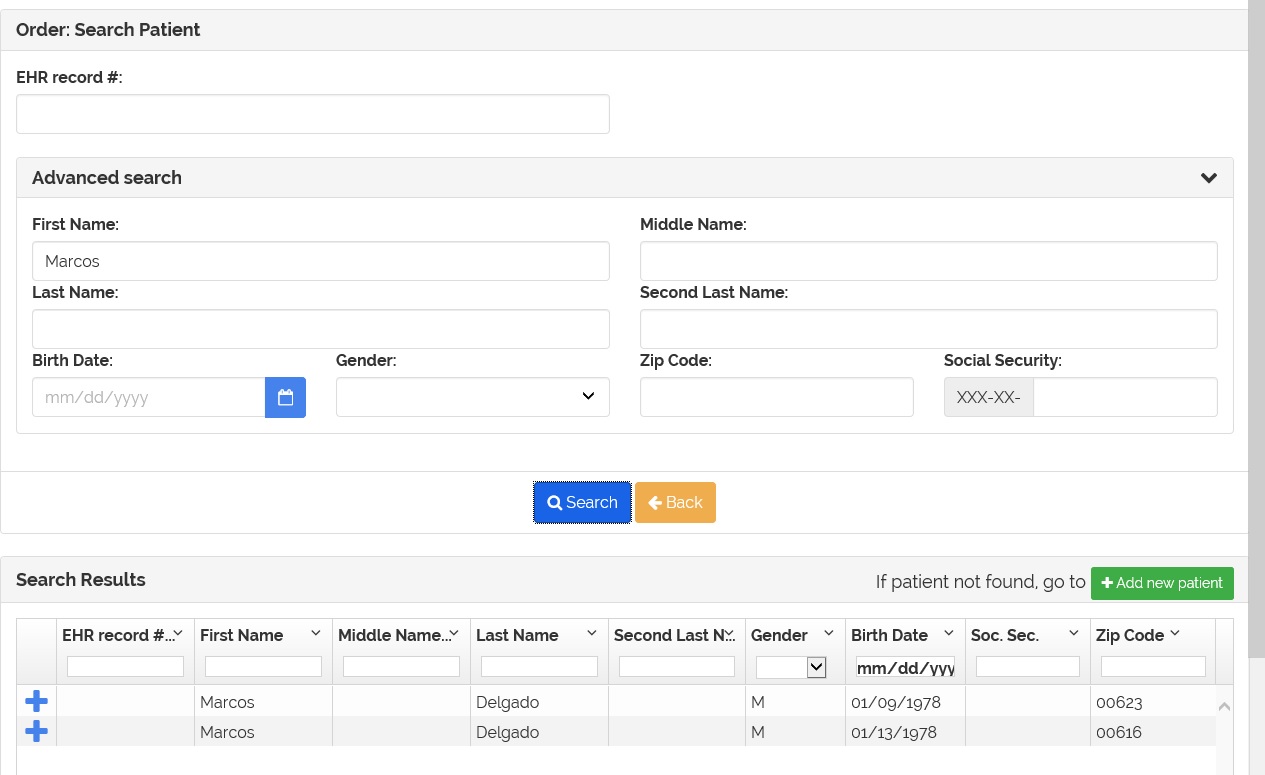
6- If the patient is on the list click the  button to select the patient.
7- If you DON'T FOUND the patient, click on the  to add the patient. For more information on how to add a new patient go to Add new patient section.
Fill the order information
8- When you select the patient, the page to fill the order information appears.
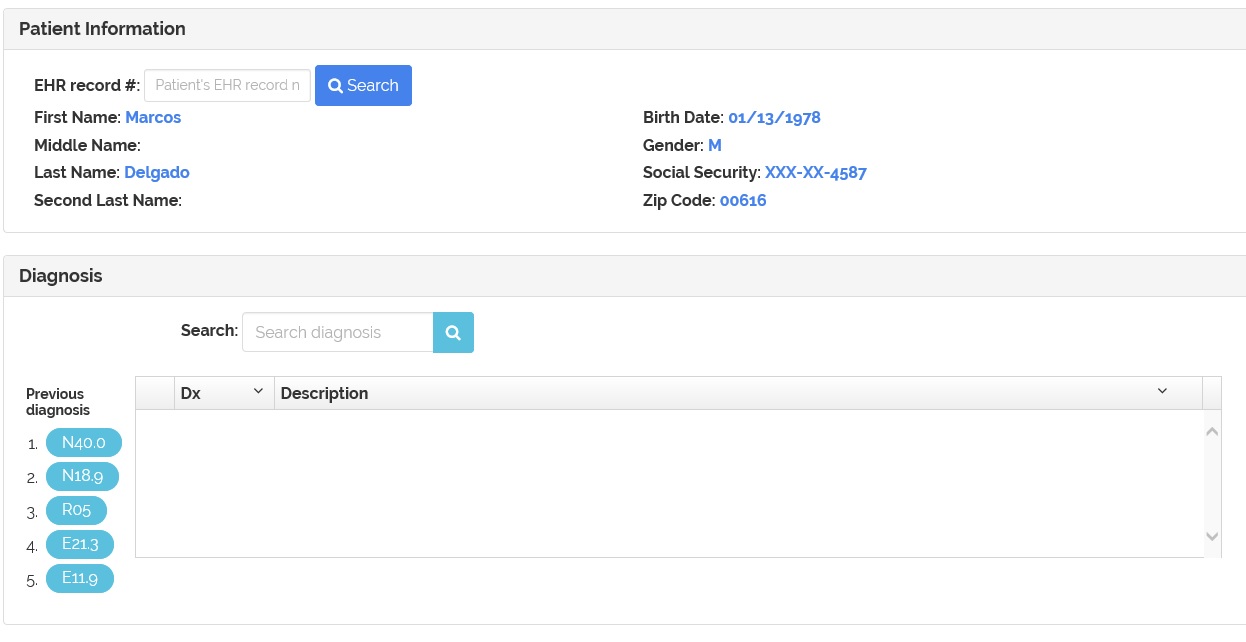
Manage the patient's EHR record number
9- If you want to add the patient's EHR record number to the order, enter the number on the 'EHR Record #' field and click the 'Save' button.


Enter the test order diagnosis (dx)
10- In order to add the dx to the test order localized the Diagnosis section on the order.

11- You can add the diagnosis by searching the diagnosis or selecting the diagnosis from previous patient's orders.
12- To add by selecting the previous diagnosis localized the 'Previous diagnosis' section.
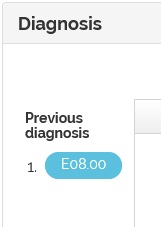
13- Click on the diagnosis code for the diagnosis to be added.
14- To add the diagnosis by searching it, localized the search field and enter the name or the code of the diagnosis.
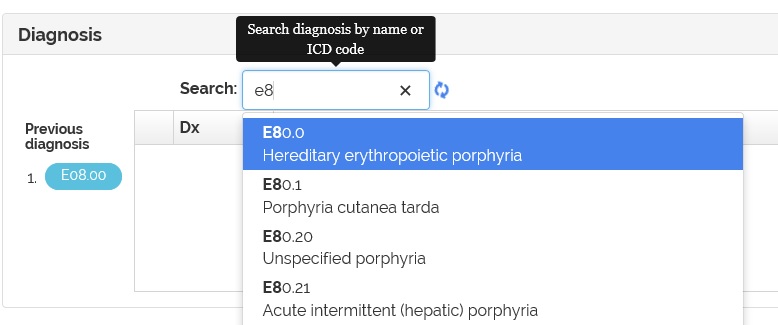
15- If found, select the item to add the diagnosis.

16- To delete a selected diagnosis, click on the ![]() button on the selected diagnosis list.
button on the selected diagnosis list.
Enter the tests
17- To enter the order tests localized the Lab Tests section. You can add the tests by searching the tests or from the Customized Testing Panels.
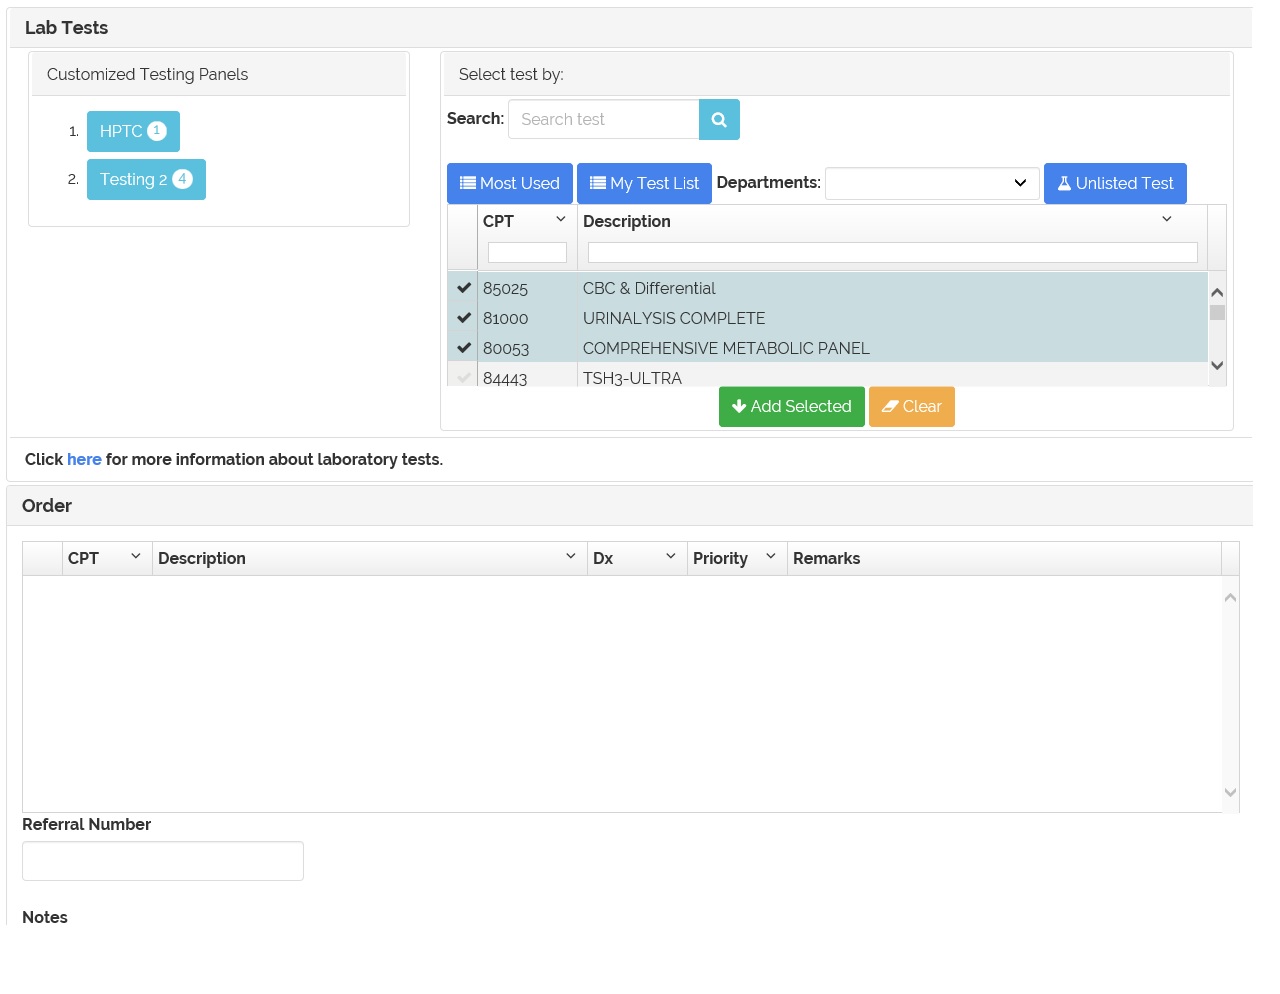
18- To add the tests from Customized Testing Panels, localized the customized testing panel section and click on the panel.
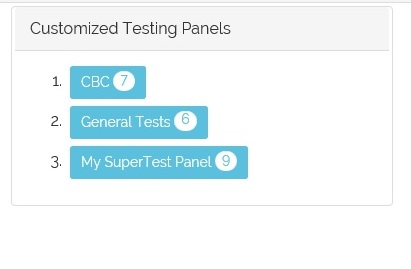
Note: For more information on how the create the custom testing panels go to Custom Testing Panels.
19- To search and select the test, go to search section.

- Most Used - Most used test on Puerto Rico.
- My Test List - Most used test on the practice.
- Departments - Filters the tests by department.
- Search - Enter the test CPT code or description.
20- If tests where found they will appear on the list.
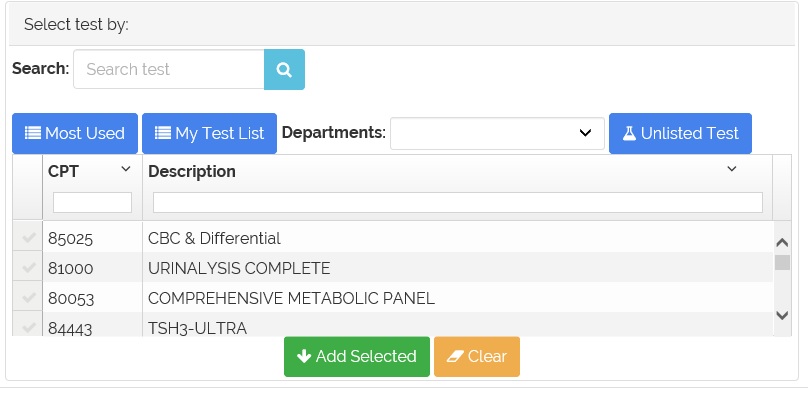
21- To select the test click on the test description.
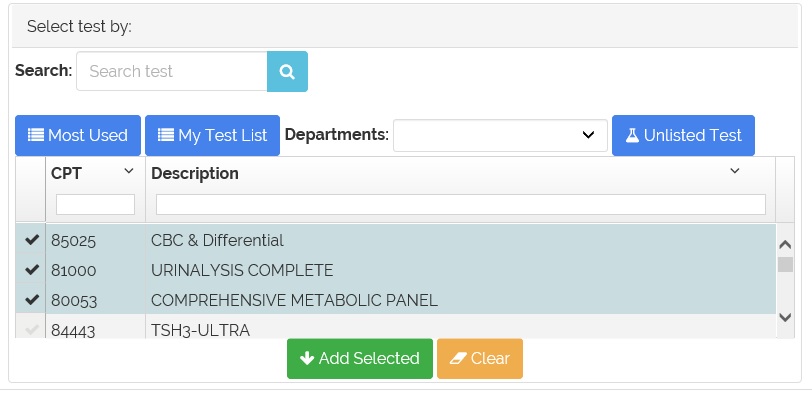
22- Then click on the  to add the selected tests.
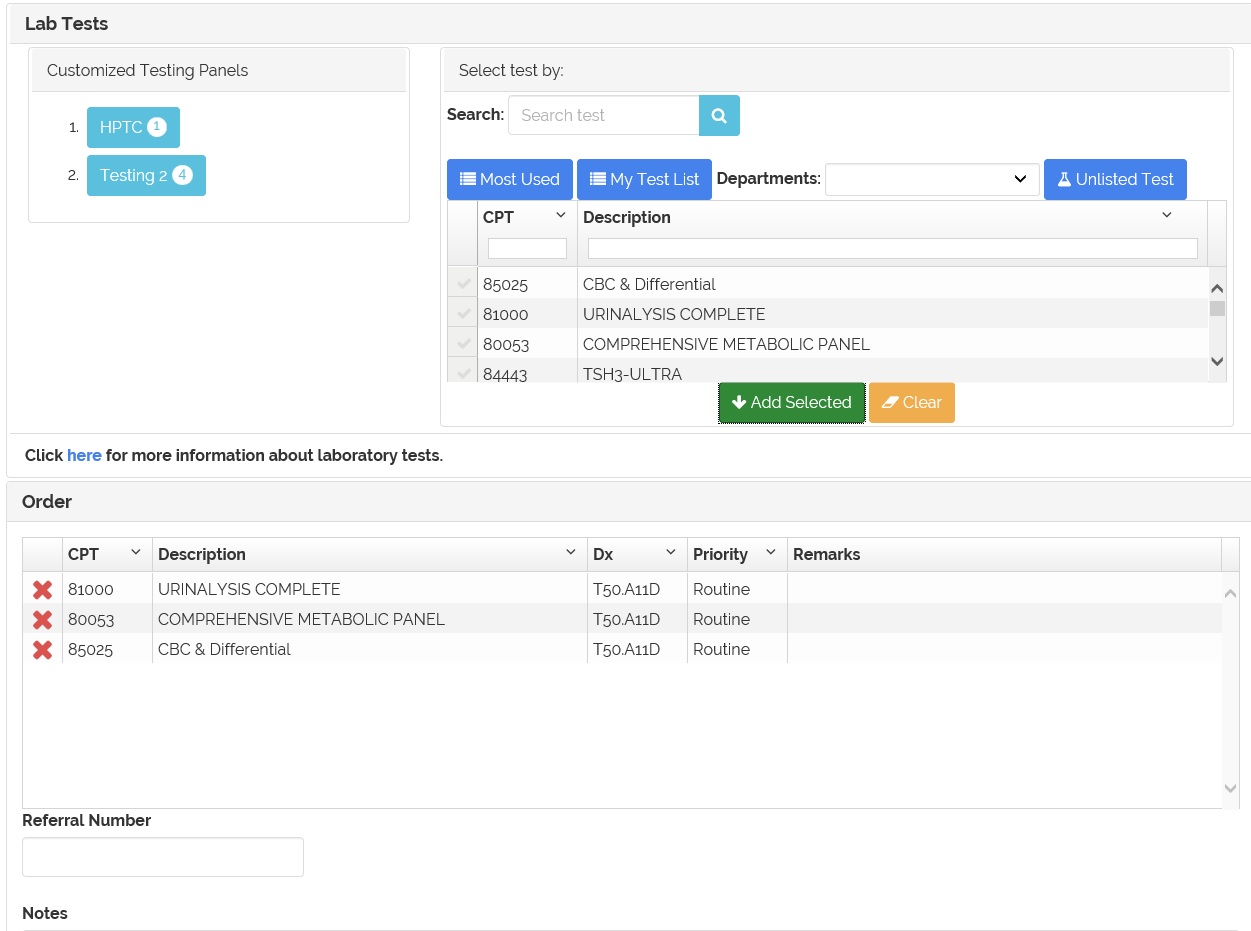
Note: After selecting the test, the application automatically detects if there's a medical necessity for that test.
Manages the medical necessity
23- When adding or editing a selected test the application detects if that test has restriction by diagnosis. If it has and there is not a selected diagnosis on the order that justify the procedure then a window to select a valid diagnosis appears.
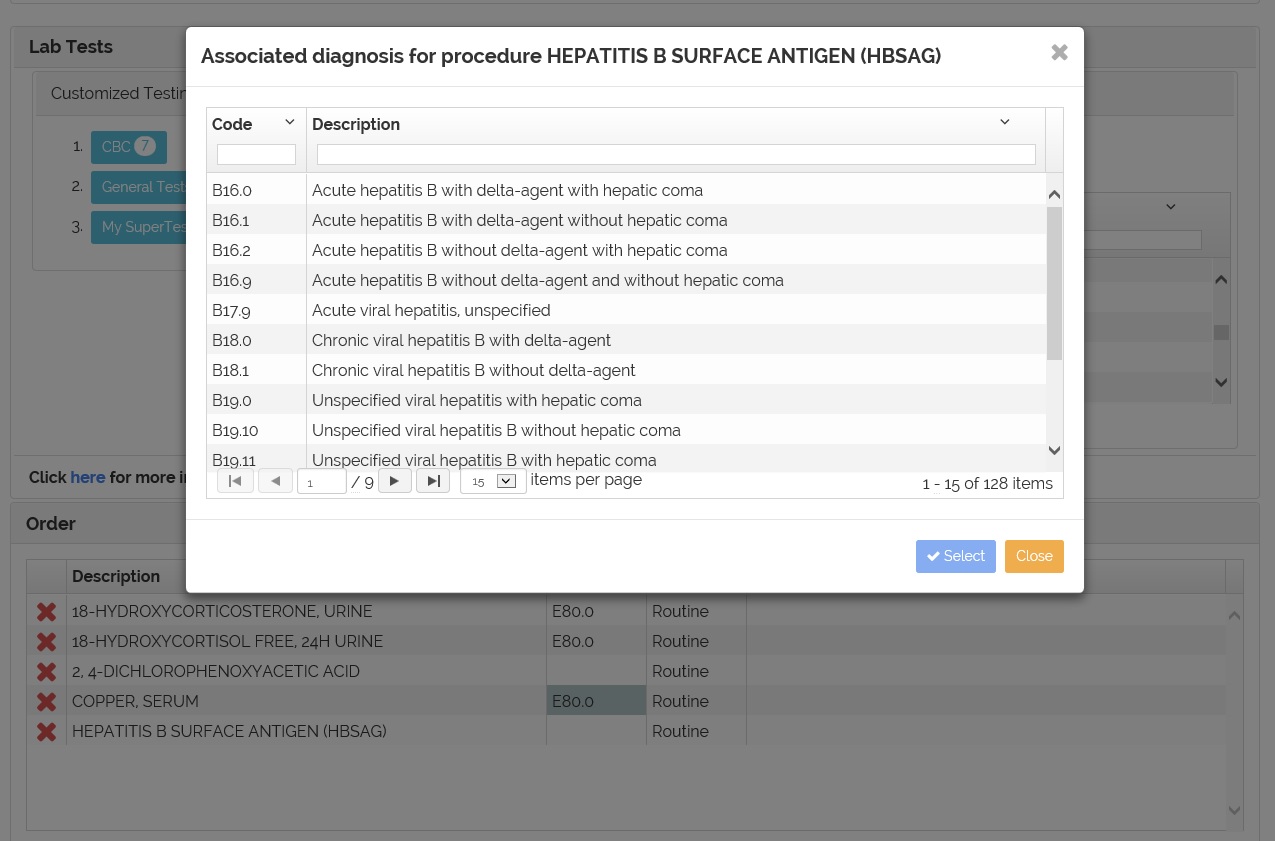
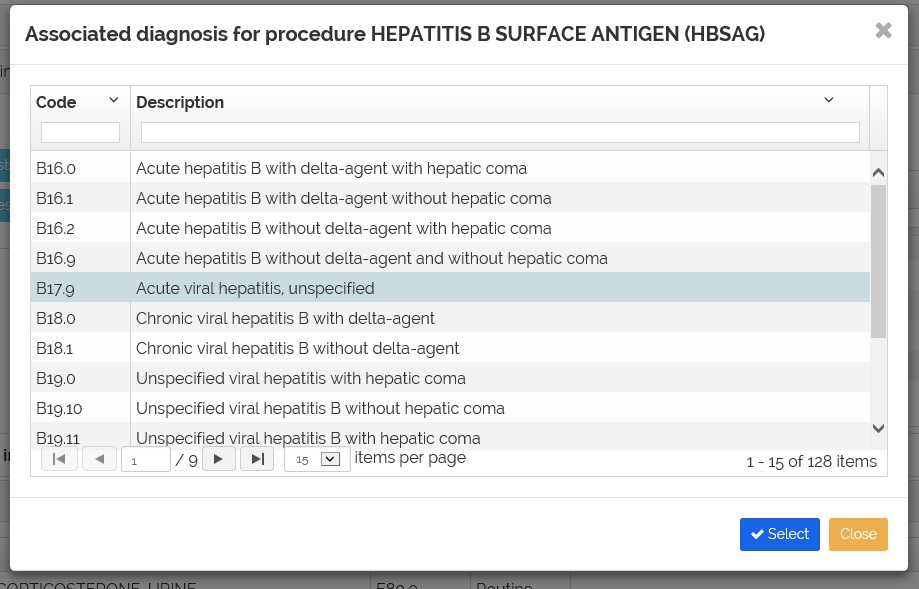
24- Select the diagnosis from the list and click the 'Select' button. The diagnosis will be added and the procedure diagnosis updated.
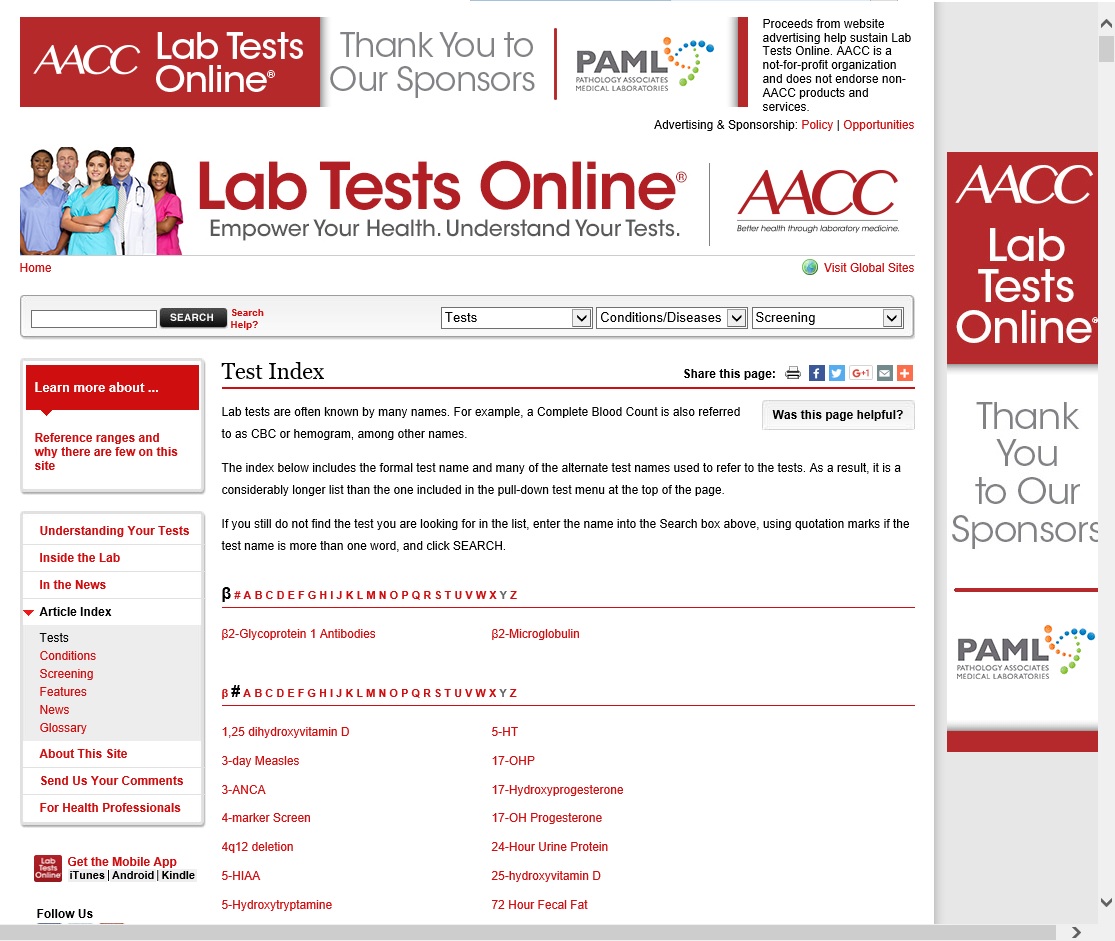
Note: If you want additional information about laboratory tests click on the page link.

Edit selected tests
25- You can edit the selected test on the grid.
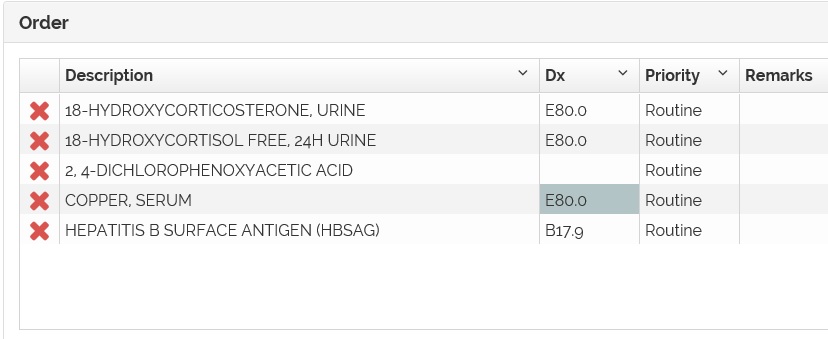
26- Edit the diagnosis.
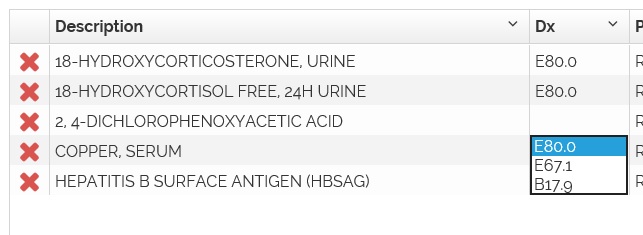
27- Edit the priority.

28- Add remarks.

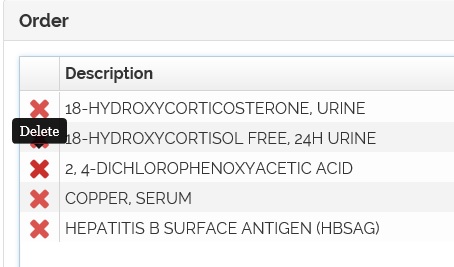
29- To delete click on the ![]() icon.
icon.
Add notes to the order
30- Add notes in the 'Notes' section of the order.

Send order test
31- After completing the order information (diagnosis and tests) click the  or
or 
 |
Send the order to the orders pool. |
|---|---|
 |
Send the order to the orders pool and show a print preview or the order. |
Sample screen of 'Send and Print Order'
